Setting up Google Search Console
Step 1 - Verify Site Ownership
1. Go to Google Search Console page and create an account
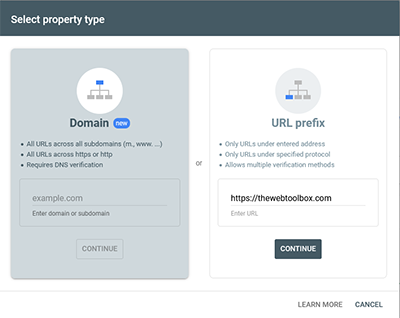
2. Once the account is created you need to tell google the domain address. In the screenshot below you can see that I have entered https://thewebtoolbox.com. After you have entered your URL click the CONTINUE button.
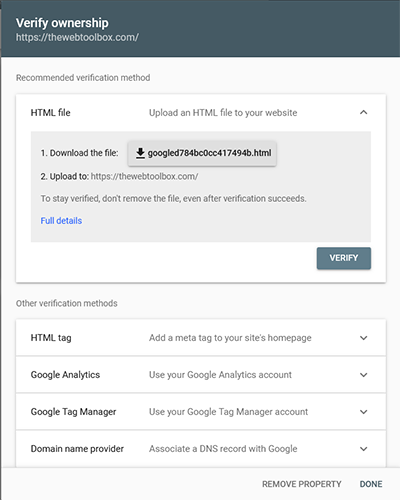
3. Google will need you to verify your ownership of the account. Google gives several options for claiming ownership, we will select the google recommended method of uploading a file to the site root. Click on the download file button. In this case you will see tha the file is called googled784bc0cc417494b.html. Once the file is downloaded, upload it to the site root and then click the VERIFY button.
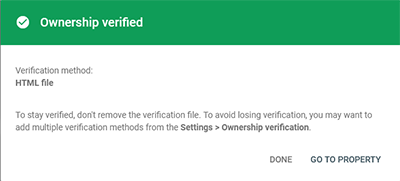
4. Google will immediately search your site for the file. You should see the OWNERSHIP VERIFIED message as shown below. Click on the GO TO PROPERTY link.
Step 2 - Submit the sitemap.xml file to Google.
5. Open the Google Search Console and select SITEMAPS.
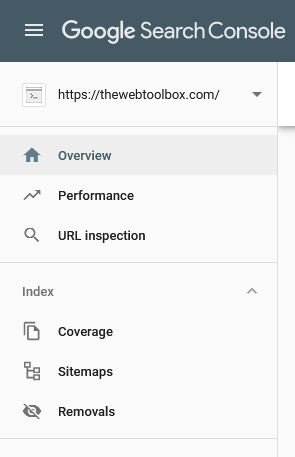
6. Add the sitemap name into the box. It should be called sitemap.xml. Click on the SUBMIT button.
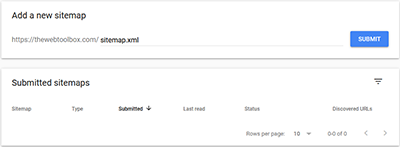
7. You should now get the Sitemap Submitted Successfully message.
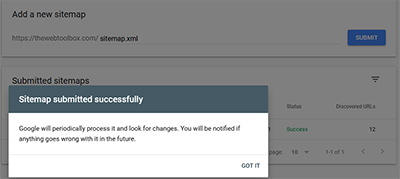
8. Google will show the number of Discovered URL's. This should correspond to the number of URL's in the sitemap.xml file.

N.b.
It takes weeks for Google to check the sitemap and index the pages. Don't be surprised if you see anything for a month!
If there are any problems with any of the pages you will get an email from Google outlining the issues.